Installation of Wall Papers at Commercial Places like hospitals and Schools
Wallpapers are a popular decorative solution for commercial places such as hospitals and schools. They offer a wide variety of design options, they are durable and easy to clean, and they can transform a plain wall into a vibrant and engaging space. However, installing wallpapers in these settings requires careful planning, attention to safety and durability, and the use of proper materials and techniques.
Preparation
Before starting the installation process, it’s important to prepare the walls properly. This includes removing any existing wallpaper or adhesive residue, repairing any cracks or holes in the walls, and cleaning the walls thoroughly to remove dust and dirt. Any imperfections on the wall can show through the wallpaper, so it’s essential to have a smooth and clean surface.
Choosing the Right Wallpaper
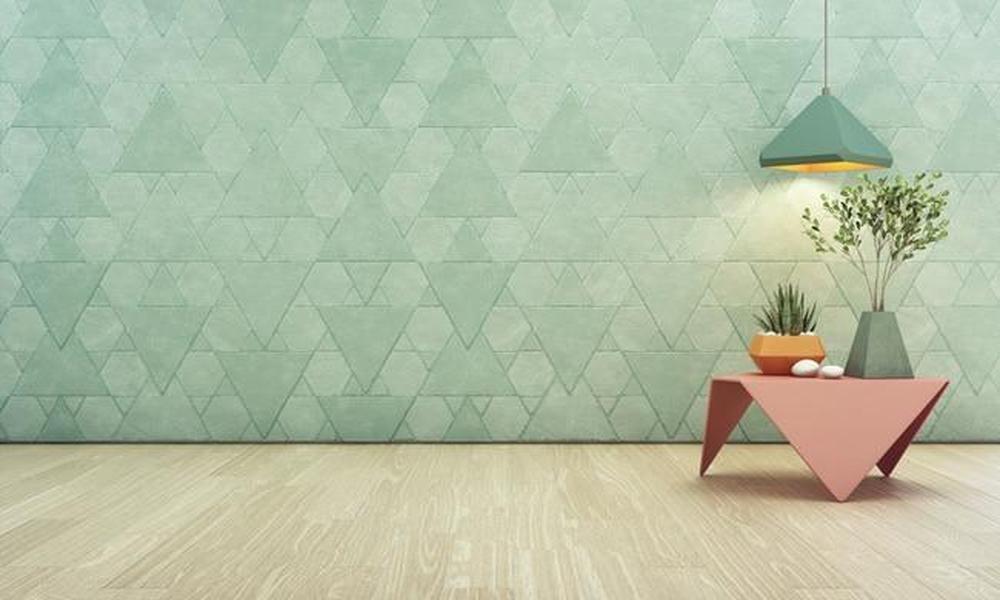
Choosing the right wallpaper is crucial in commercial settings like hospitals and schools. The wallpaper must be durable, easy to clean, and resistant to wear and tear. Vinyl and non-woven wallpapers are popular options for commercial spaces as they are tough, washable, and long-lasting. It’s also essential to consider the color and design of the wallpaper. Bright and colorful wallpapers can create a positive and engaging environment in schools and hospitals, while muted and calming tones can help create a relaxing atmosphere.
Measuring and Cutting
To ensure a perfect fit, it’s essential to measure the wall accurately and cut the wallpaper accordingly. It’s recommended to use a wallpaper calculator to estimate the number of rolls required for the job. Once you have the right amount of wallpaper, cut it into manageable lengths and label them with their position on the wall.
Applying the Adhesive
Applying the adhesive to the wall is the next step in the installation process. It’s important to use the right type of adhesive for the wallpaper and the wall surface. The adhesive should be applied evenly, using a wallpaper brush or roller, to avoid any bubbles or wrinkles in the wallpaper.
Hanging the Wallpaper
Hanging the wallpaper requires patience, precision, and attention to detail. Start at the top of the wall and work your way down, smoothing out any bubbles or wrinkles as you go. Use a wallpaper smoothing brush or roller to flatten the wallpaper and remove any air bubbles. Be sure to match the pattern carefully, and trim any excess wallpaper at the ceiling and baseboard.
Finishing Touches
Once the wallpaper is hung, it’s important to clean up any excess adhesive and make any final adjustments. Smooth out any bubbles or wrinkles that may have appeared during the installation process. Use a sharp knife or scissors to trim the edges of the wallpaper neatly, and clean up any excess adhesive with a damp sponge or cloth.
By following these steps, you can create a beautiful and durable wall covering that will enhance the look and feel of any space.


